
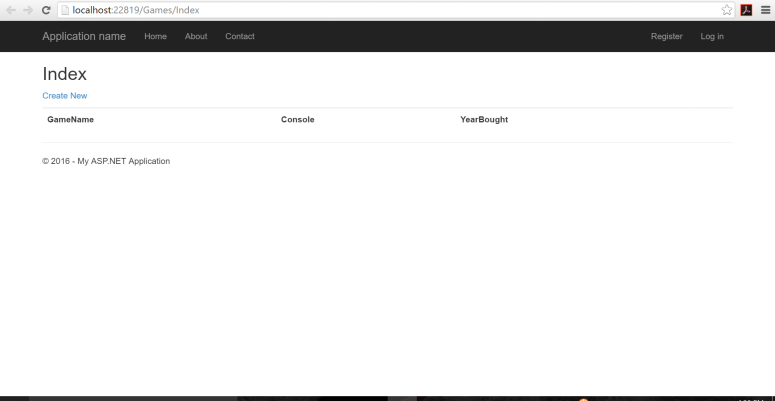
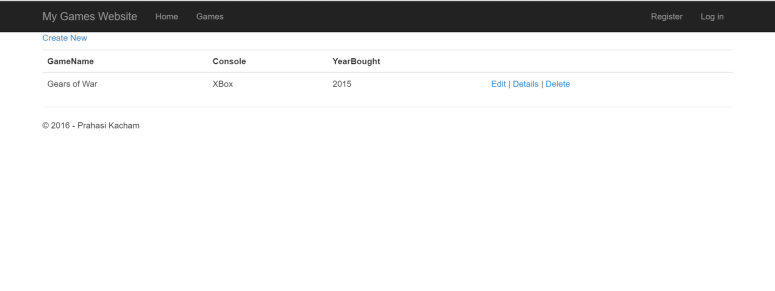
Hey! If you have been following along with the three-part tutorial, hope you guys are having fun 🙂 Alright, so now here’s what our website looks like so far
Okay, so now let’s change it up. We are first going to start by changing the menu bar.
- In Visual Studio, open your project and click on Views -> Shared -> _Layout.cshtml
2. Scroll down to line 22 and as you can see this is where our menu is.
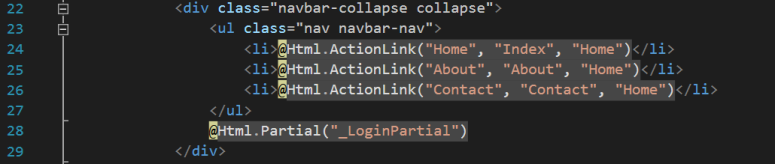
3. Now, we can change the menu items to display different things.
Html.ActionLink (where to go when a menu item is clicked)
First word in quotes is the name of the item to be shown, second word in quotes is the specific view page, and the third word in quotes is the view folder.
4. So, let’s change it so when a user clicks on a menu item our page we created comes up. Change your code to this:

So now when we load our page, look what happens. Now, our menu bar has a games option.
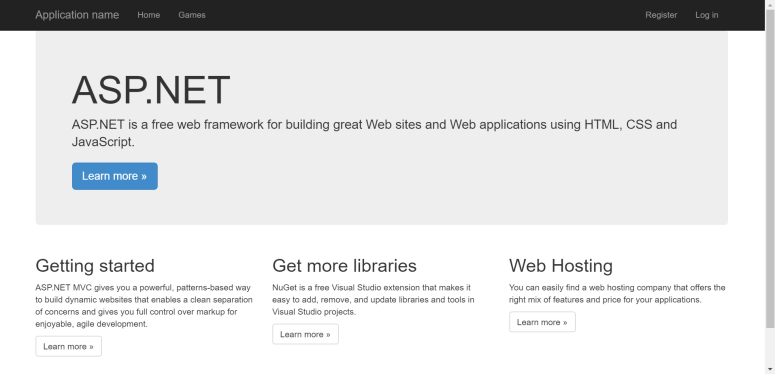
When we click on games, we get the page we created where we can add gamed, edit them and delete them.

Okay, so now let’s make a few other changes. Let’s change Application Name to the name of our website and clean up the page.
5. Go back to _Layout.cshtml
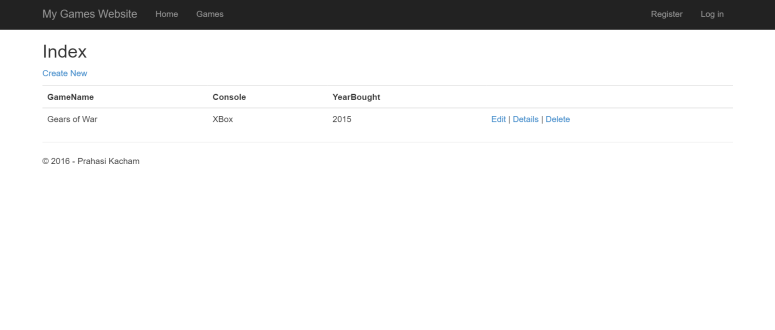
6. At line 20 is where we can change the name of our website. Let’s change it to My Games Website. You can leave the “Index” and “Home” part because that says when that item is clicked go to the home page. Go to line 35 and in place of My ASP.NET Application put your name. This is how our website should look now.
7. Now, go to Solution Explorer and click on Views -> Games -> Index
8. At line 4, change the title to say “My Games” instead of Index. Take out line 7.
Now, our website looks like this.
In the next part, we are going to style the page. This is optional 🙂
If you decided to continue, let’s try and insert a cool bootstrap template 🙂
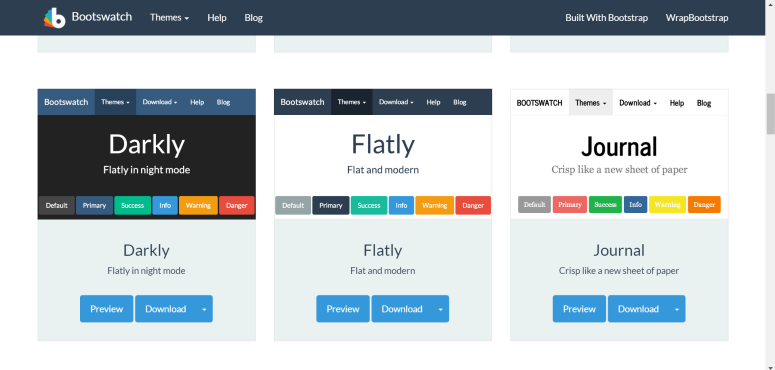
9. Go to https://bootswatch.com/
This is where you can get free downloadable Bootstrap templates 🙂 so go ahead and pick one you like. Let’s say I pick Flatly.
10. Okay, so click on Flatly and then click the Faltly menu item, which is a drop down menu item
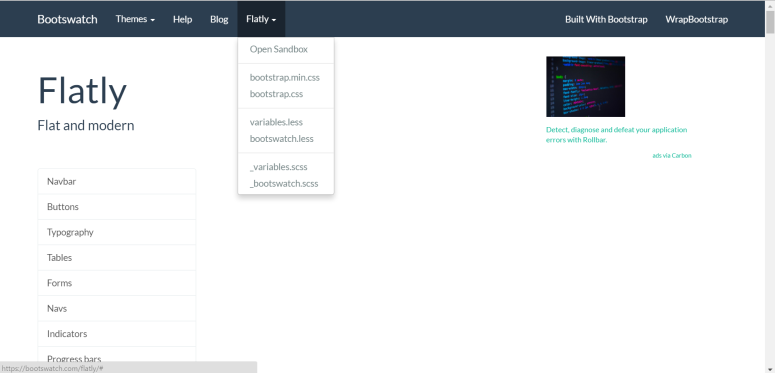
11. Click bootstrap.css and on the page right click save as and then navigate to where your project is saved
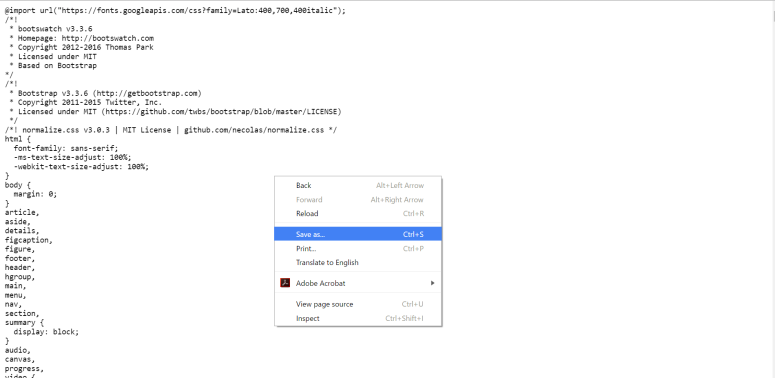
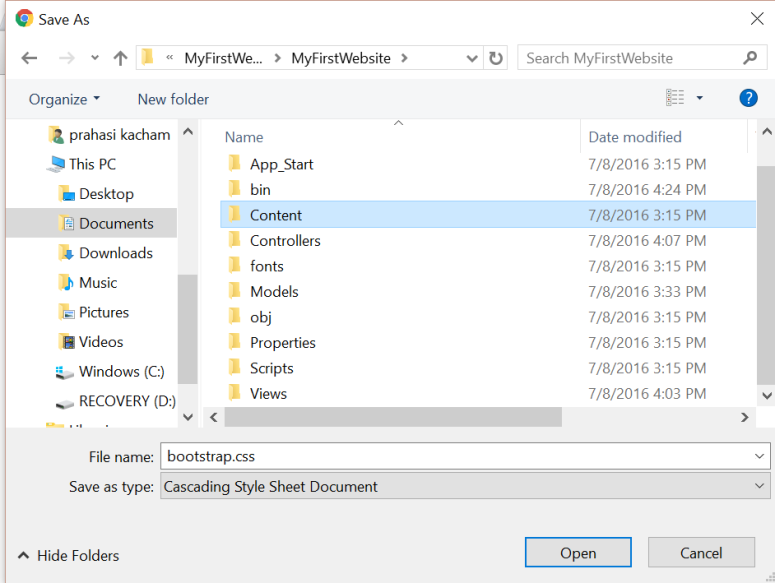
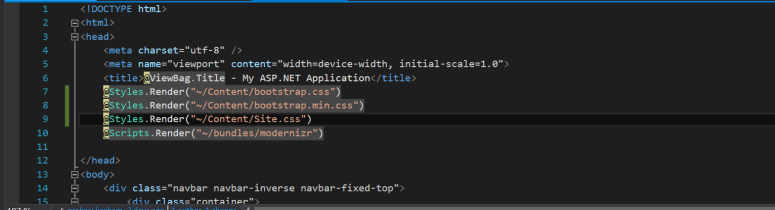
12. Click the Content folder and then save the bootstrap file to there. You may say there is already a bootstrap file there, but you are just replacing it with another template. Now, after you do that, repeat the same process with the bootstrap.min.css page. Then, go to _Layout.cshtml and at the top, we have to reference the page to look at our three css files.
Change what you have to this:
13. So now when you load your page you should get a new page.
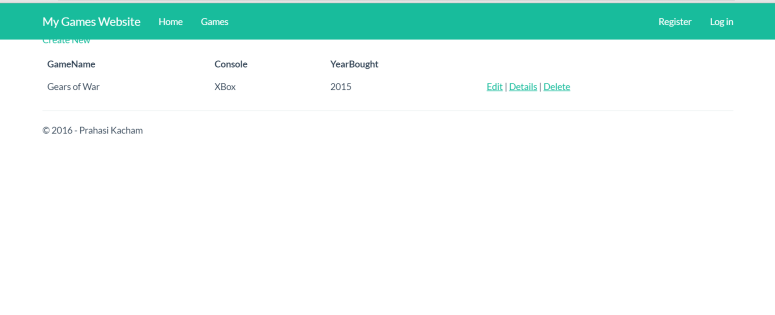
Now, it’s up to you to make more style changes as you wish. Go crazy and have fun.
Happy Coding 🙂
